Wednesday, 5 September 2012

Shifting Gears

The shift lever for the Honda BF5 is located on the starboard side of the outboard motor.  This is not exactly conveniently located when the motor is mounted on the Chebacco considering the distance to the transom for the cockpit.  Add in the mizzen mast, main sheet traveller and boom gallows to make the reach even trickier. 

Cleverly (thought I) I could make a sort of poor man's remote control by attaching wooden control dowels to the shifter lever and the twist throttle (using a commercial throttle extender).  Holes were drilled into the cockpit bulkhead and the dowels extended slightly into the cockpit.  Thus, without so much as standing up I could control the shifting and speed from the cockpit.  This system worked great for general motoring but it fell short in that the motor was now locked into position on the centre line of the boat and could not longer be pivoted to manoeuvre in tight quarters.  This is a definite disadvantage considering the poor reversing and stopping characterists of this Chebacco/OB combination.

Remote shifter 1.0 one end...
...and the other
Back to the drawing board as they say.  Jamie Orr has the same motor on his boat, Wayward Lass.  He added a short extension to the shifter that allowed him to shift by reaching over the top of the motor to shift gears.  When motoring in tight quarters Jamie would perch on the port aft deck and be able to control shifter, throttle and tiller handily.  This arrangement allows the motor to still pivot when required for tight manoeuvring.  Clever chap that Jamie, so I copied him.  My lever extension was in fact the plastic extended socket wench thingy that came with  my new kitchen faucet and it fit perfectly.  Never throw anything out.

Remote shifter 2.0

A keen observer may notice in the top two photos the extension to the motor pull cord.  As with the shifter -the mizzen, rudder post, main sheet traveller and the distance to the transom from the cockpit make pulling the starter cord a challenge and a risk to back, elbows and fingernails.  Very considerately, when purchased, the Honda OB came with a back up starting cord to be used in the unlucky event of cord breakage or failure of the ratchet mechanism.  This cord is attached to the rubber hand grip of the built in starter cord and reaches easily to the cockpit.  Simple and slick.

Saturday, 1 September 2012

Crash

I was really looking forward to this past August 19th.  The plan was to meet up with my brother Gary early at the Pitt River Marina where we would launch Bluster then motor up to the Pitt Lake ramp where we would meet up with my friend Curtis and his Siren 17.  We would then spend the whole day exploring the lake and adjacent waterways.  The next weekend was the Vancouver Wooden Boat that I was really excited about participating in for the first time.

I arrived at the marina early, about a half hour ahead of Gary, so I loaded up the provisions and gear then hooked on the trailer thinking that I may as well go ahead and launch while waiting. This is easier with two people but the ramp was quiet and  I have certainly done it alone many times so I wheeled out of the secured parking and over to the ramp.  I executed a ninety degree turn to begin changing direction from driving towards the ramp to backing down.  As I came to a stop I felt the car/trailer pull backwards slightly and thought it was just the weight of the trailer that was now on the downward slope.  Not quite in the right position I pulled forward again.  Bang!  My first thought was that for some reason the trailer hitch had popped off the ball so I stopped  the car and stepped out...I had caught an overhead cable!  Where did that come from and how had I launched here three times previously and never seen it?  Bluster's mast was angled back about twenty degrees and the bowsprit was angled up at forty five degrees taking a big section of the foredeck with it.  What a mess.    In a shock-like state I drove back to my parking spot.  Gary arrived shortly after, also looking forward to a day on the water, and we began to assess the damage.


Not a good way to start a cruise.

It appeared when I caught the mast on an overhead cable the mast flexed backwards pulling up on the bowsprit and snapping the 1/8" ss cable bobstay.  The sturdy bowsprit (really a bowplank) was undamaged and the six 3/8" ss bolts ensured that the foredeck it was attached to travelled with it.  The only damage to the mast was split on the foot where the locking bolt on the tabernacle is inserted.  Hull, sails and rigging all OK.  We spent some time lowering  the masts, removing the anchor and bowsprit.  This is a disappointing end of the sailing season for me, for now.

The next day I cancelled my monthly storage at the marina and towed my wounded Bluster to Gary's farm where he generously offered to store her whilst I was to undertake repairs.  I was getting over my grieving and starting to plan for the future - I still had a couple of pieces of the original marine plywood fiberglass cloth and some fresh epoxy.  Having built Bluster I am acutely aware of her intimate construction details. 

Maybe I won't be going to the Wooden Boat Festival next weekend but Sam and I had been talking about a backpacking trip to Garibaldi Park...

A very good plan B


Wednesday, 15 August 2012

Lock Down

This past weekend I intended to take Bluster out for a little sail but other things came up so instead I used a little of my free time to address some mods and maintenance issues.  I guess it is the boat builder in me but I really enjoy puttering and fussing on and around my boat.  Almost as much as sailing - a sentiment I have heard from other builders too.

A couple of years ago I purchased a lock set to enable me to secure the Bluster's cabin.  Today I finally got around to it.  Fairly straight forward jot that involved drilling a 3/4" hole in the top drop board, inserting and bolting up the lock set then attaching a cleat on the underside of the hatch.


Lock set 

Lock set intalled

Inside - unlocked
 
Inside - locked

The finished job looks good and works well.  It would not deter a determined thief but may reduce the chances of 'crimes of opportunity'. 

Now, where did I put the key?

Tuesday, 7 August 2012

On the Lazy River

I have been recently storing Bluster at a tidy little marina on the Pitt River.  What is really great is that I can leave her rigged and ready in the secured lot and then use the adjacent launch ramp to access the river.  The Pitt River is actually fairly short (connecting Pitt Lake to the Fraser River) and does not have much of a current.  What makes both Pitt River and Pitt Lake unique is that, being so close to the sea, they are both affected by the tides.

This past weekend we launched around 0800 hrs and spent a very leisurely cruise up the river to its confluence at the lake.  This is a voyage of about 15 km, the water was flat and the air windless.  We were also experiencing a bit of a heat wave in southwest BC with temperatures into the low 30 degrees.  For the most part the Pitt River is contained by dikes that have turned much of the 'polder' land from swamp to agricultural land.  There is still a great deal of wet lands and we were impressed by the bird life - herons, eagles, ospreys, geese and more.  A prominent little hill along the way is being systematically eroded away by a gravel mine. 

On the chart I noticed a little basin connected to the main river by a tight canal.  With Lisa on the bow we were able to negotiate the weeds to explore its deepest corners. 

At the entrance to the lake proper (Grant Narrows) we finally felt a bit of a northerly wind.  This was our planned turn around for the day so we raised the mainsail and enjoyed a good run down the river.   We used this time to give Bluster a good wipe down of the accumulated storage grim and dust.

Eventually the expected afternoon southerly winds made their appearance so we furled the mainsail and motored back to the ramp, arriving there around 1400 hrs.  It was getting very hot by this time and the river was getting busy with all the power boats and jet skis.   A nice outing and an opportunity to visit an area I have never explored before even though it is almost in my back yard.

Some photos...

Cottages - nice location!

Looking north towards Pitt Lake

Doing the African Queen thing

Picking a route through the weeds

Getting hot

Gravel works off the bow

Getting in a little sailing

Busy but efficient ramp

Monday, 6 August 2012

Iron Wind - Honda 5 hp Outboard

I love my 5 hp BF5 Honda outboard motor.  After ten years of yeoman service this engine has never let me down and fires up on the first or second pull even after sitting for months.  As a lad my brother and I fiddled around with the family collection of ancient and balky 2 stroke Evinrude outboards.  Based on these early experiences I decided during my boat build that if I ever completed the thing I would reward myself with a new four stroke engine.

Shiny and new

The outboard was in fact purchased during the build and I modified the transom to fit it.  This motor comes in  either a regular or long shaft version and I opted for the regular one as the leg, when in the run position, was no deeper than the shoal rudder on the Chebacco.  My thinking for this was that tucked up like this the expensive engine would not be the first part of the boat at the scene of a grounding.  I was concerned that the prop may not be deep enough for maximum efficiency but this has not been the case.  The downside of this is when in reverse the wash is directed onto the rudder and a firm hand is required to keep tiller from slamming over.


Clamped on like it belongs there

The Honda is very miserly in the fuel consumption department and is nice and quiet as well.  One criteria I felt important for the outboard was a remote fuel tank.  I know from experience the limited integrated tank capacity can let you down just when  it is needed if not carefully monitored.  The well between the cockpit and transom I designed to fit two of the 12.5 litre (3 gal) remote tanks.  In practise I only carry one.

The prop was replaced with one more suited to pushing a displacement hull resulting in a half knot speed improvement.  Half throttle pushes Bluster along easily at five knots and opening  it all the way only grain another half knot or so so I rarely go there.

If I realistically looked back on the time spent on the water since launching Bluster back in 2002 as memorable as the sailing times were, we probably spent as much or more time motoring.  Investing in a good outboard, for me, was money well spent.


No wind, no problem


Saturday, 2 June 2012

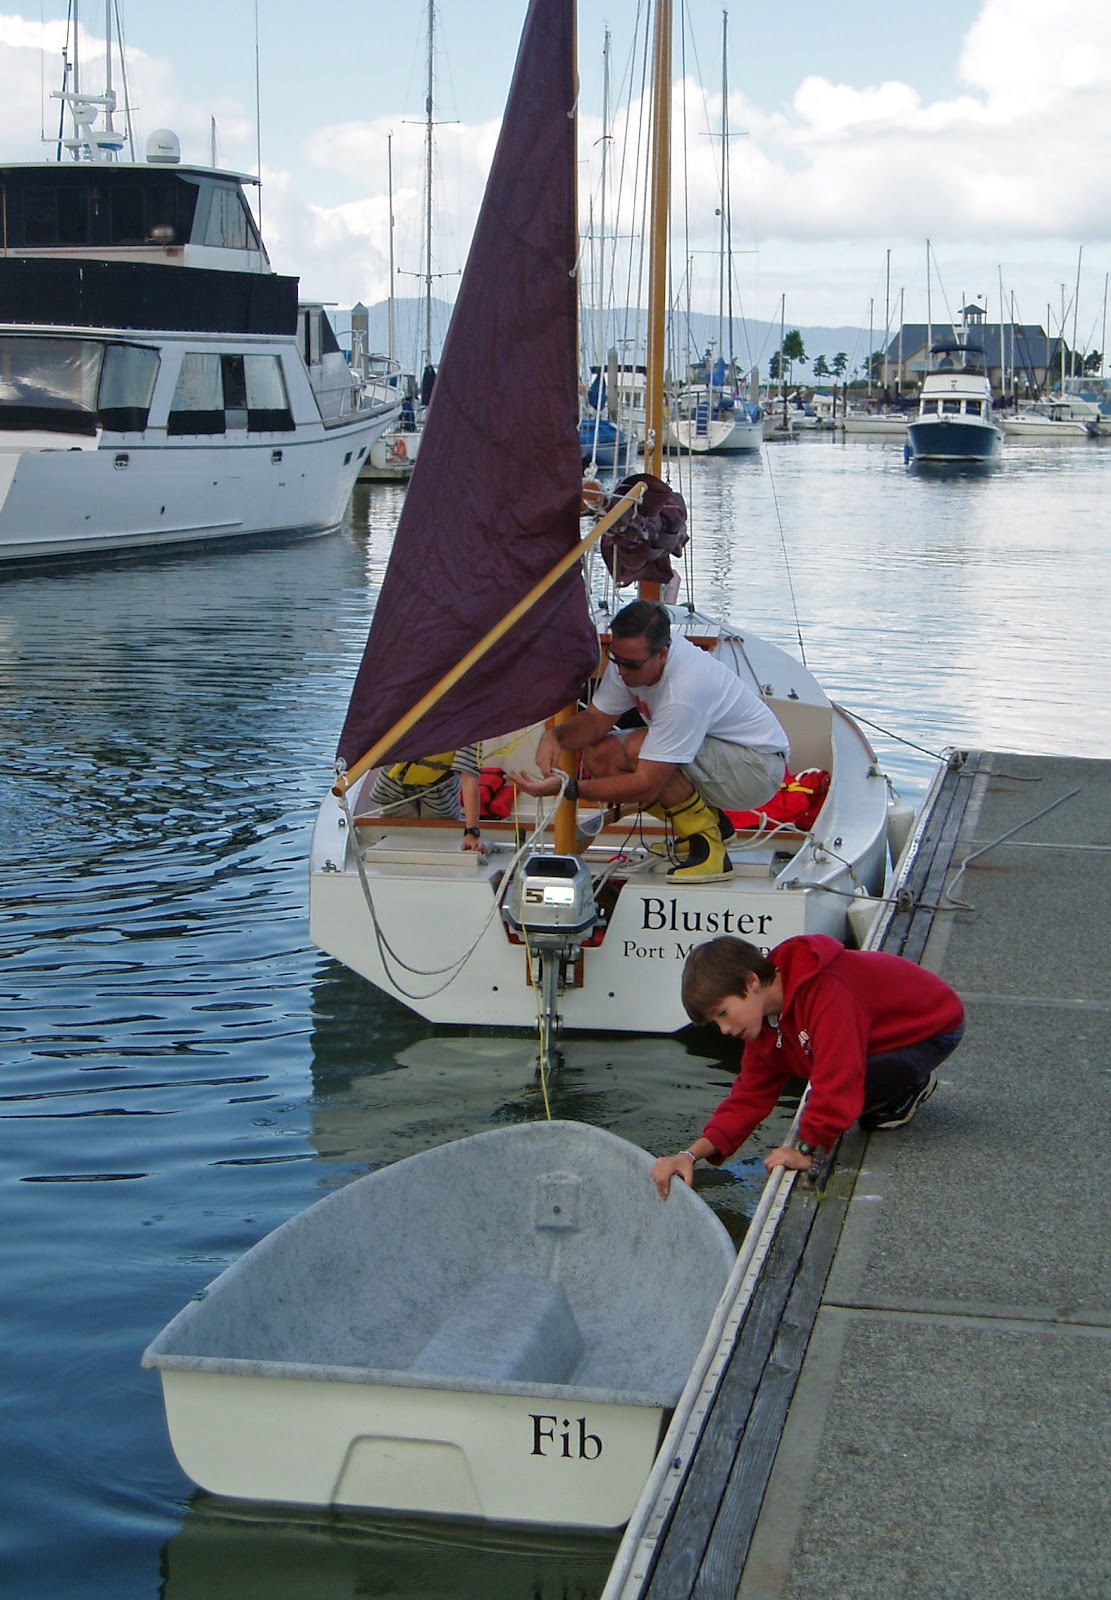
Fib - The Puff Wheat Boat Story

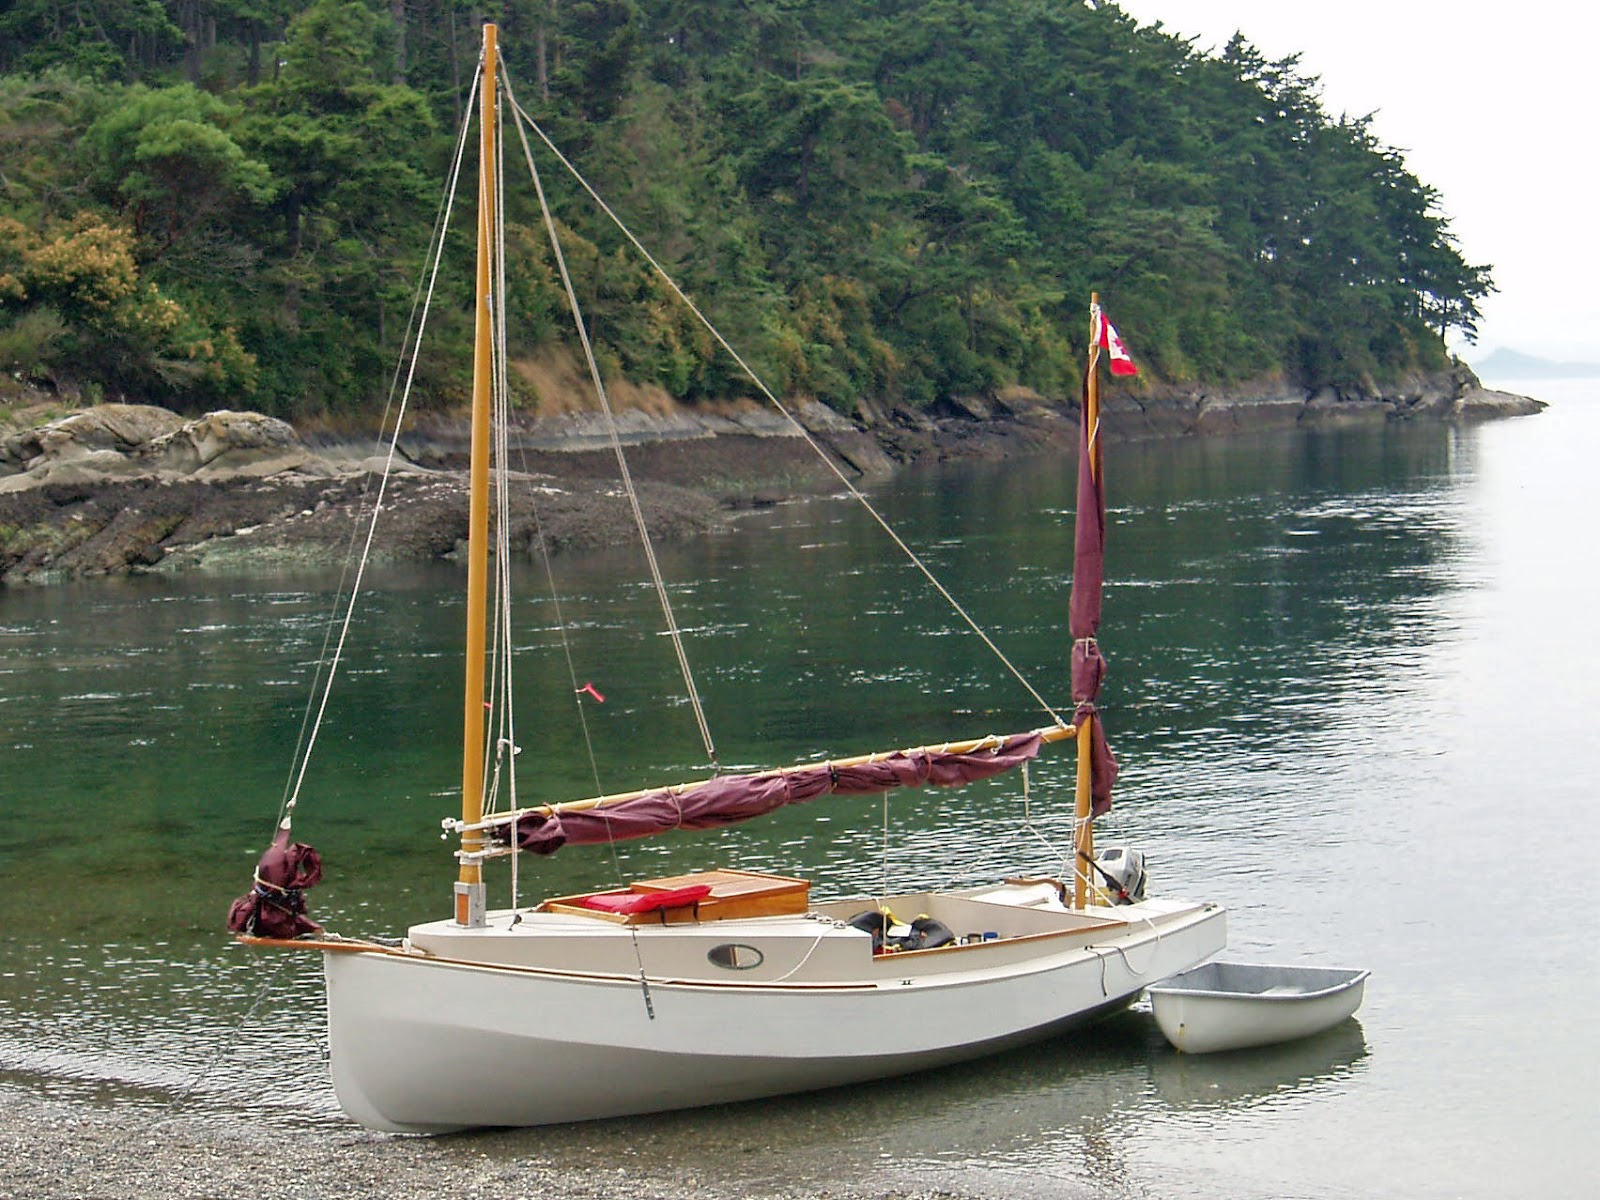
As with all sailors, at some time or another we will want to put ashore.  No tides and a sandy beach, no problem. With Bluster’s light weight and shallow draft we just pull her up on the beach and maybe drop the anchor or tie up to a handy tree. 

Crystal Beach on Kootenay Lake

The problem is when I want to anchor out I needed a dingy or tender to get ashore.  A rigid hull tender that is large enough to ferry two persons I always thought would look disproportionally large when towed behind a 19.5 foot sailboat. Also because Bluster is primarily a trailer sailor there is the issue transporting the large, awkward tender.  An inflatable dingy could be an answer and a popular option for some small boat sailors.

In the 1960s my father-in-law started up what was to become a very successful industrial fibreglass manufacturing company.  In the early days of the company no jobs were too small.  They were approached be a breakfast cereal company to manufacture a number of child sized fibreglass rowboats.  These would be distributed to grocery stores throughout western Canada.  As a promotion the boats were filled with Puffed Wheat Cereal and customers would guess the number of puffed wheat and the closest to the actual number would win the boat!

Kid sized

Our family always had a couple of well worn "Puff What Boats" as they were call at the cottage for the kids to play around with.  This got me thinking that this little boat would be the perfect size for a rigid Chebacco tender.  Unfortunately unless you are expecting to go a swim there it has a very strict two kids or one adult capacity rating.

Puff Wheat Boats

The original molds were still hanging around so I made up a nice new PWB for my Chebacco.  My wife suggested that because our Chebacco has the slightly arrogant name of Bluster that the little PWB should have an equally boastful name of "Fib".

Bellingham Harbour 

Fib, with her short waterline and flat bottom does not track worth a fig but with a little practise and a light hand on the five foot oars she will get you across the anchorage and back.  She she is small enough to travel in Bluster's cockpit while on the road and I can hoist it onto my back, coracle or turtle style, to carry across the beach. .

Now if the situation arises I can drop off any passengers or crew ashore then anchor out and use what is very likely the smallest true production fibreglass boat in the world to get ashore. 

 Puff Wheat Boat Statistics:
  • Length:  5'6"
  • Beam:    3'6"
  • Draft:     0"1"
  • Capacity: 200 lbs
  • Designer Unknown
  • Manufacturer: Marine Plastics Ltd. 

Fib in action...
Sucia Island (John Kohen photo)

"Time out" in Fib

Light enough for an exhausted wife and nine year old to carry
 
Sucia Island


Tuesday, 10 April 2012

Maintenance and The Need to Vent

We were blessed with a lovely sunny Easter weekend on the the Sunshine Coast that allowed me to get some minor maintenance and modifications done on Bluster.


The gaff boom had been removed to redo the jaws and touch up the varnish.  This was laced back onto the sail and the halyards attached.  I was amazed with this mess of lines I had no serious tangle issues.  Lots of spider nest to brush off the sails.

When spending any time 'below decks' it was obvious there is very poor air circulation.  The companion way boards and hatch can be opened but without another opening to the outdoors air flow is minimal.  To address this I purchased a Sea Dog 3" low profile cowl vent with jaunty red interior.


The stressful issue here was determining where to cut the hole and I decided to locate it within the companionway frame.  This spot is protected from deck action and would not interfere with the sliders as the hatch is never pushed that far forward.  A 3.75 inch hole was drawn out and my trusty jigsaw did the rest.


The cut was then cleaned up with 180 grit sandpaper and the raw plywood sealed with epoxy.  Silicone sealant was applied to the vent base and this was then attached to the cabin top with stainless screws.


The vent was then attached to the base and when I went below a fresh breeze was detectable from the slight wind above.